

Discover 240 volt outlet installation cost with detailed labor, materials, permit estimates and real California examples. Plan your budget and avoid surprises.
Date
Dec 18, 2025
Author
RC Admin
Read
9 min

Quick Cost Overview For 240 Volt Outlet
RC Generators and Electric in California specializes in installing 240V outlets and integrating them with home and commercial standby power systems like Generac and solar-powered generators. Installing a 240-volt outlet usually runs between $175 and $800, though most homeowners see bills from $220–$450 depending on the job’s complexity and location in California’s Los Angeles and Ventura County areas. Think of these figures like travel tiers: budget, mid-range, and premium installs.
Electricians typically charge $50–$150 per hour, and a straightforward install often takes 1–4 hours. For deeper insights, check the full research on Angi.
Major cost drivers include:
Labor: $50–$150 per hour based on experience
Materials: breakers, receptacles and wiring
Permits and inspection fees
Panel work: upgrades or adding a subpanel

Most jobs fall into the mid-range, around $300–$450, covering typical receptacles and 30- to 50-amp circuits.
Here’s a side-by-side look at how costs stack up for 240V outlet installs:
Summary Of 240 Volt Outlet Installation Costs
Project Type | Average Cost Range |
|---|---|
Low Complexity | $175–$300 |
Mid Complexity | $300–$450 |
High Complexity | $450–$800 |
Use these figures to shape your budget before tackling wiring, panel work, and local fees.
Ready to get started? Contact RC Generators and Electric for a free, no-obligation estimate on your 240V outlet install in Los Angeles or Ventura County.
Budget Planning Tips
Combine multiple 240V outlets into one visit to save on labor hours.
Book weekday slots during slower seasons—electricians may offer lower rates.
Secure permits early; avoiding last-minute rush fees can trim costs.
Armed with this snapshot, you’ll have a solid starting point for more detailed planning on wiring gauges, breaker sizing, and permit requirements.
Understanding Key Concepts
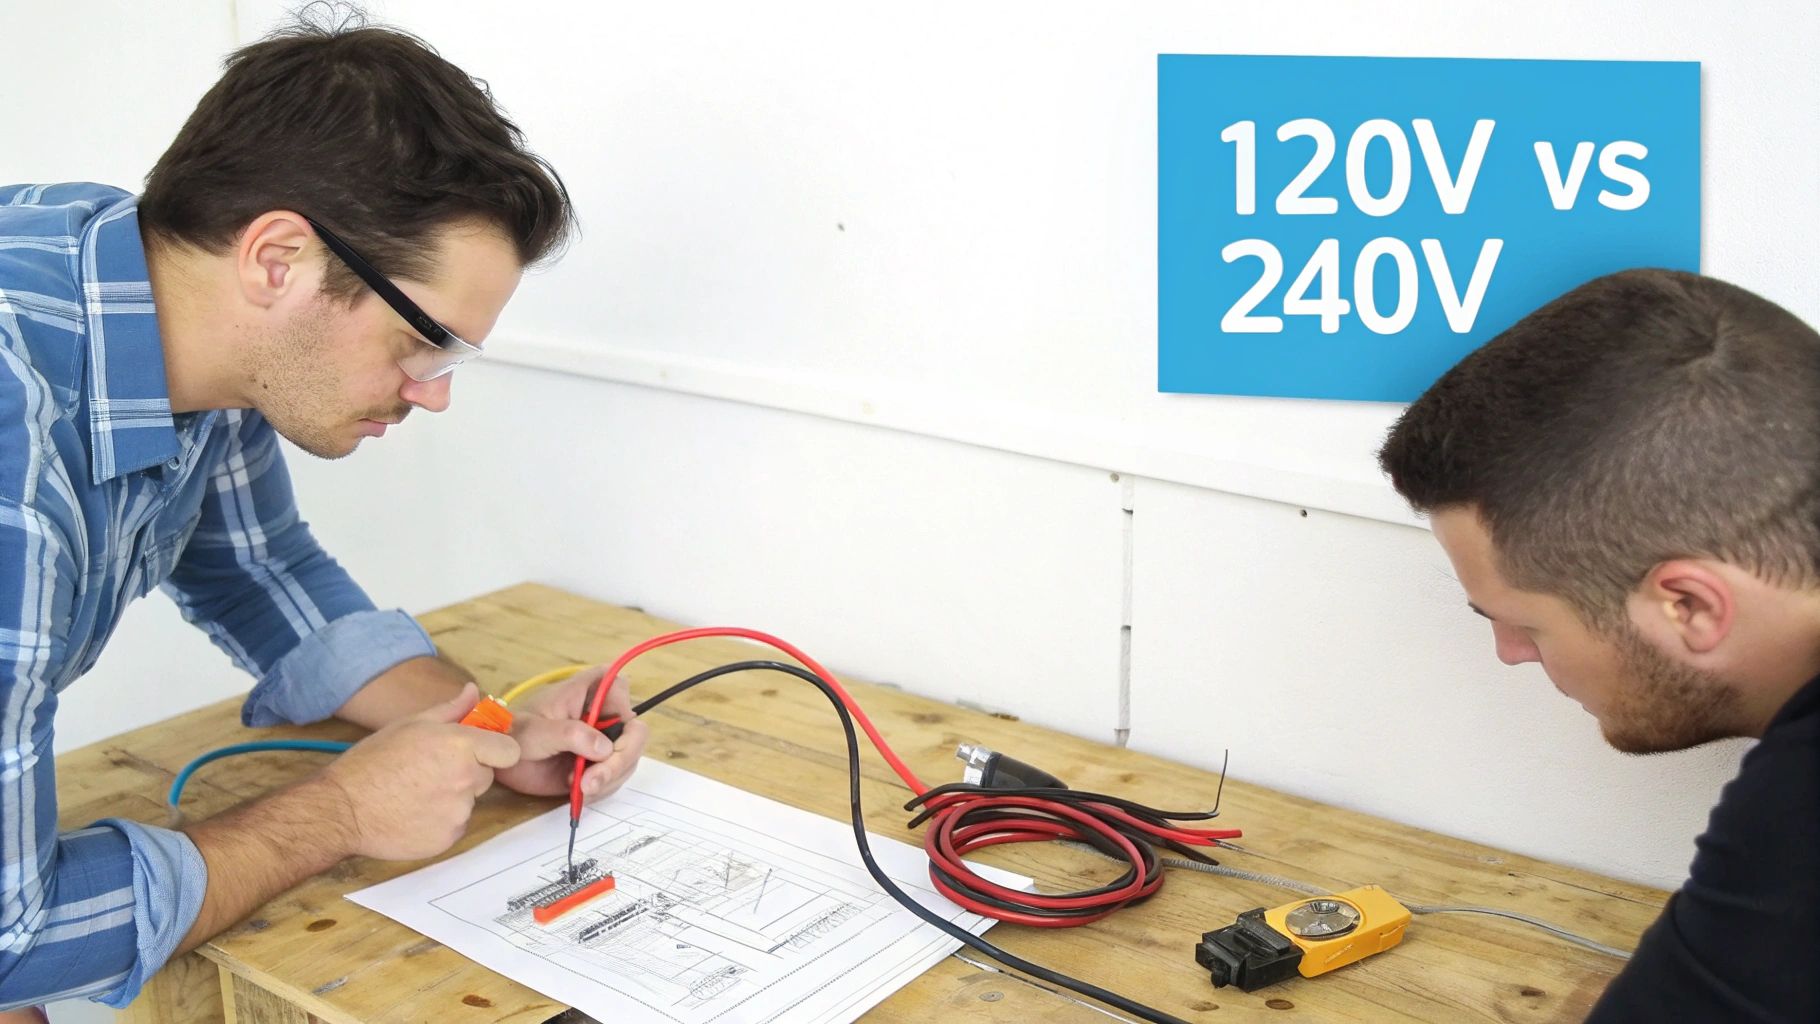
Before talking dollars and cents, let’s tackle why you’d even choose a 240V outlet. Think of your everyday 120V circuit as a garden hose—fine for watering flowers. A 240V line? That’s a roaring firehose, built to move a lot more water—or in this case, electricity.
Here are the typical heavy-duty appliances and backup systems that demand that extra juice:
Electric ranges drawing 30–50 amps for steady oven heat
Clothes dryers pulling 20–30 amps without nuisance trips
Level 2 EV chargers pushing 20–40 miles of range per hour
Standby generators (like Generac) or solar-powered systems feeding robust circuits
Circuit Type | Voltage Capacity | Common Uses |
|---|---|---|
120V | Up to 20 amps | Lighting, small appliances |
240V | 30–50 amps | Dryers, electric ranges, EV chargers, backup generators |
A quick side-by-side shows why wire size and breaker ratings matter. Thicker cable handles more current without overheating. Proper breaker sizing then steps in to cut power if things ever run too hot.
Benefits Of Higher Capacity
Switching to 240V isn’t just for show. An EV charger on 240V will top up at roughly five times the speed of a standard 120V cord. And when you tie in a Generac standby generator or solar backup system, it hooks straight into that 240V subpanel to keep your fridge, HVAC, and lights humming during any outage.
“A 240V outlet is the workhorse behind heavy appliances and home backup power,” says a seasoned electrician.
If you want to dig deeper into subpanels before you start, check out our guide on subpanels.
How Circuits Tie Into Backup Systems
When you pair a Generac generator with your home, each 240V branch circuit feeds through an automatic transfer switch. The moment the grid goes dark, the switch kicks in and your critical loads—fridge, sump pump, medical gear—stay on without a hitch.
Solar generators with built-in inverters follow the same approach, sending AC power into your main panel connections and balancing grid and solar sources seamlessly. Proper wiring here ensures stable voltage and prevents hazardous backflow into the grid.
Short, direct cable runs save you money on materials and cut down on voltage drop. Of course, if your garage or yard is far from the breaker panel, expect a bit more labor for trenching or conduit.
Wiring gauge works much like pipe thickness: bigger pipes for bigger flows.
#10 gauge handles up to 30 amps—perfect for moderate loads
#8 gauge supports up to 40 amps, ideal for heavier appliances
Armed with these basics, you’re ready to dive into installation costs and the permits you’ll need.
Key Cost Factors Explained
Think of your 240V outlet install like baking a layered cake. Each “ingredient”—labor, materials, permits, panel work, fees—adds its own flavor to the final cost.
Electrician labor in California typically runs $50 to $150 per hour, and a standard 240V circuit takes about 1–4 hours to install. Factor in travel time, site complexity or tight crawlspaces, and those hours can climb quickly.
Key Cost Pieces:
Labor & Travel: From a quick garage hook-up to a long conduit run
Materials: Outlets, breakers, wiring
Permits & Inspections: City fees vary by scope and location
Panel Work: Upgrades, subpanel installs, generator tie-ins
Local Fees: Licensing zones, expedited plan checks
Electrician Labor And Travel
Labor often makes up the biggest slice of your bill.
A simple hookup near the main panel can take 1–2 hours at $50–$80/hour. If your electrician needs to trench, fish wire through walls, or navigate a crowded attic, expect that to stretch to 4+ hours.
Calling for weekend or emergency service? Budget for a 10–25% rate bump.
Materials And Minor Hardware
Material costs usually stay under 10% of the total. Most homeowners see:
240V Receptacle: $8–$35
Double-Pole Breaker: $5–$40
Wiring: $0.20–$1 per foot
Variations here only shift the price by a few dozen dollars. It’s the labor hours, permits, and panel work that move the needle. Discover more detailed insights about material pricing on Angi
Keep in mind: hardware rarely tops $75 in your overall estimate.
Permits, Inspections And Fees
Skipping a permit isn’t worth the risk. In California, expect to spend $100–$300, with big cities sometimes charging up to $500.
Core fees break down like this:
Fee Type | Typical Range |
|---|---|
Application Fee | $60–$200 |
Plan Check | $30–$150 |
Inspection Visit | $35–$100 |
Upscale neighborhoods or quick-turn requests can tack on extra surcharges.
Panel Upgrades And Subpanels
If your main panel is already full, you’ll need extra slots.
Subpanel Installation: $500–$1,500
Full Panel Upgrade: $1,000–$3,000
Panel work often pairs with standby generator or solar setups for seamless backup power. Learn more about panel upgrade costs in our article on electrical panel cost
Signs You Need An Upgrade
Old two-prong outlets or breakers tripping under load are red flags. Flickering lights when you run appliances? That’s voltage drop at work.
Watch for:
No free breaker slots
Faded or missing labels
Appliances pulling more amps than the circuit allows
Plans for an EV charger, dryer, or range
Catching these early prevents emergency fees or last-minute rush jobs.
Timeline And Inspection Process
Expect a 1–2 week window from first call to final inspection.
Day 1–2: Site survey and estimate
Day 3–7: Permit submission and approval
Day 8–10: Installation and rough-in inspection
Day 11–12: Final hook-up and sign-off
Building this timeline into your schedule avoids surprise delays and extra costs.
Tips To Reduce Total Costs
Smart planning can trim 10–20% off your estimate:
Bundle multiple circuits or related work in one visit
Pick off-peak weekdays to schedule the job
Clear access to your panel and work area
Combine outlet installs with generator, solar, or battery-backup projects
Request an itemized quote so you see labor, parts, and fees clearly
With a transparent breakdown in hand, you can compare bids and choose a licensed electrician experienced with Generac standby systems. Contact RC Generators and Electric today for a detailed quote tailored to your home in Los Angeles or Ventura County.
EV Charger And High Amp Installations

Adding a 50- to 100-amp circuit is like widening a quiet country road into a busy four-lane highway. These high-amp lines take more planning, heavier wiring, and careful routing from your electrical panel to the appliance.
Here are some common heavy-duty installs that need a dedicated circuit:
EV chargers pulling 30–50 amps for Level 2 fast charging
Welding machines drawing 60–100 amps in a home workshop
Generac standby generators tied into a 100-amp subpanel
Upgrading to a high-amp circuit doesn’t just boost capacity—it future-proofs your home for whatever power demands come next.
Amperage And Distance Impact
Every time you bump up the amperage, you need thicker conductors that can handle the extra current without overheating. And the longer the run from your panel to the charger or workspace, the more copper and conduit you’ll need—which drives up both material and labor costs.
Pick the right wire gauge for your charger’s amperage
Map out conduit routes, indoors or out, to avoid obstructions
Account for trenching if you’re burying cable beneath a driveway or lawn
“Proper conduit planning cuts surprises and costs,” notes a seasoned California electrician.
Dedicated 240V circuits for EV charging typically land between $500 and $1,200 in major metros. If your project also requires a 100- to 200-amp panel upgrade, tack on another $650–$1,500, roughly doubling the invoice compared to a simple outlet install. For a deeper dive, check out the 2025 Home EV Charger Installation Cost Guide.
Panel Upgrades And Subpanels
If your main panel is already bursting at the seams, you’ll need extra breaker space—either by adding a subpanel or expanding the main unit.
Subpanel installation runs about $650–$1,200
Main panel expansion can range from $1,000 to $3,000
A dedicated breaker bank for your EV charger or standby generator not only prevents nuisance trips, it also leaves room for solar, battery backup, or any other future upgrades.
Conduit Trenching And Permit Fees
Protecting your wires inside conduit is non-negotiable, but it adds trenching time and materials. Expect roughly $15–$30 per foot for excavation, conduit, and backfill.
In California, permit and inspection fees generally fall between $100 and $300, broken down as:
Application and plan check: $60–$200
Rough-in inspection: $35–$100
Final inspection: $35–$100
Budget these into your project estimate to avoid surprises at the finish line.
NEMA 14-50 Outlet Pricing
A NEMA 14-50 receptacle is the workhorse for Level 2 EV charging and many heavy appliances. Here’s a quick cost breakdown:
Task | Cost Range |
|---|---|
NEMA 14-50 Outlet Installation | $500–$1,000 |
50 ft Conduit or Wiring Run | $200–$400 |
Trenching Per Foot | $15–$30 |
These figures help you zero in on exactly where your dollars are going.
For detailed Level 2 charger setup steps, check out our guide on Installing Level 2 Charger circuits.
Installation Timeline And Inspection
Most high-amp installs wrap up in about 1–2 weeks from the first site visit to final sign-off:
Day 1: Site survey and quote
Day 2–5: Permit processing
Day 6–10: Rough-in wiring and conduit
Day 11–14: Final connections and inspection
Pad in a few buffer days to dodge rush-hour fees and scheduling hiccups. Reach out to RC Generators and Electric for your free estimate today.
Local Cost Variation And Sample Scenarios
In California, the 240 volt outlet installation cost can swing dramatically from one neighborhood to the next. It all boils down to local electrician rates, permit hurdles, and inspection timelines.
Coastal hubs like Los Angeles typically charge more than inland areas such as Ventura or Riverside.
Key Insight Coastal labor and permit surcharges can add up to 30% more compared to inland counterparts.
Regional Cost Differences
Permit departments in big cities often demand detailed plans, pushing fees higher. By contrast, smaller inland offices usually move permits through faster and cheaper. Materials remain fairly consistent statewide, but it’s labor and city fees that really shift your bottom line.
Coastal electrician rates: $100–$150 per hour
Inland electrician rates: $50–$80 per hour
Permit and inspection fees: $30–$150, depending on municipality
Coastal premium on labor and fees: 10–30%
These factors can tack on an extra $100–$300 for a basic garage outlet near the ocean. For a deeper dive, see HomeAdvisor’s outlet installation costs.
Permit Processes And Inspection Timeline
Securing permits often takes 5–10 business days in large cities versus just 1–3 business days inland. Then comes the inspection wait—anything from same-day checks in rural counties to two-week delays in metro zones. Altogether, you could see project kickoff stretch out twice as long by the coast.
Typical Permit Steps
Submit application to the building department
Undergo plan review and fee assessment
Receive permit with an inspection schedule
Complete rough-in wiring inspection
Pass final inspection after energizing the outlet
Common Add-On Charges
Unexpected fees can creep in if you’re not careful. Planning ahead keeps surprises at bay.
10–25% surcharge for weekend or holiday work
$50–$150 travel fee beyond a 20-mile radius
$100–$300 added labor for tricky conduit runs (rooftops, masonry)
Ventura County Garage Outlet Example
Let’s paint a picture: you need a 30-amp garage outlet in Ventura County. The electrician pulls 50 feet of #10 gauge wire from your panel, mounts a NEMA 6-30 receptacle, ties into a double-pole breaker, and handles the permit.
Cost Breakdown
Labor and travel: 2 hours at $60/hour = $120
Materials (wire, breaker, outlet): $150
Permit and inspection: $45
Total Estimate: $315
Project Timeline
Day 1: Site visit and quote
Day 3: Permit issued
Day 5: Rough-in wiring and outlet install
Day 6: Final inspection and sign-off
Think of that 30-amp run like a two-lane street—ample capacity with minimal congestion.
Panel Location Impact
Where your main panel lives affects labor time. An indoor garage panel is quick and easy to access. On the flip side, outdoor meter boxes or hidden crawlspaces can add 30–50% more labor hours. Clear communication up front helps avoid these pitfalls.
Los Angeles EV Charger And Panel Upgrade Example
In Los Angeles, adding a dedicated 40-amp circuit for a Level 2 EV charger plus a 60-amp subpanel upgrade looks like this:
Cost Breakdown
Labor and travel: 10 hours at $120/hour = $1,200
Materials (wire, conduit, outlet, subpanel): $600
Subpanel upgrade labor: $900
Permit and inspection fees: $200
Total Estimate: $2,900
If your main panel is full, expect an extra $500–$1,500 for a full panel capacity review before any new circuit goes live.
“Consolidating EV circuits and generator feeds in one subpanel streamlines future upgrades,” notes a Los Angeles electrician.
Subpanel And Panel Constraints
Older homes often require a full panel swap instead of just a subpanel add-on. In L.A., a main panel replacement typically runs $1,000–$3,000. Bundling that work with backup generators or solar can save you from paying twice for permits and labor.
Sample Installation Cost Scenarios
Below is a snapshot comparing two common projects in Southern California. These examples should give you a real-world sense of what to budget.
Scenario | Location | Estimated Cost |
|---|---|---|
Garage Outlet 30-amp | Ventura County | $315 |
EV Charger Circuit + Subpanel | Los Angeles | $2,900 |
These scenarios highlight how location, labor rates, and permit fees can influence your final invoice.
Why Local Rates Matter
When you shop quotes, look for gaps in labor, permit, or panel line items. A bid in Oxnard won’t mirror one in Santa Monica—coastal premiums skew the numbers. Itemizing each charge keeps sticker shock at bay.
How Seasonal Demand Affects Pricing
Electricians book up fast in spring and summer. Wildfire prep or hurricane season spikes demand, making slots tighter. If you can schedule in off-peak months, you’re more likely to snag lower rates and quicker start dates.
Negotiation And Bundling Strategies
Grouping multiple circuits into one job can lead to package discounts. Ask about a bundled rate if you’re also installing a Generac standby generator or solar backup. Cutting down on travel and setup time often saves 5–15% off your per-outlet cost.
Questions To Ask Your Electrician
How many hours do you estimate for my site conditions?
Are permit and inspection fees included?
Does your quote cover panel upgrades, or is that extra?
Have you tied circuits into Generac standby generators before?
Can you share references from local projects?
Ready To Get Started?
Contact RC Generators and Electric today for a free, detailed estimate on your next 240 volt outlet install or complete home backup system in Los Angeles or Ventura County. We handle as-built surveys, permits, inspections, and final hookups—so you can relax.
Conclusion And Cost Saving Tips
Breaking down every piece of your 240 V outlet installation cost is the best way to avoid sticker shock. From labor rates and permit fees to panel upgrades and materials, each line item adds up—and forewarned is forearmed.
By grouping similar tasks, booking services during slow periods, and timing your permits correctly, you can shave hundreds of dollars off the final bill.
Combine multiple 240 V circuit installs in one visit to cut down on labor hours.
Schedule weekday, off-peak windows when electricians often offer lower rates.
File permit applications early to dodge rush fees and inspection delays.
Keep panels accessible and clear pathways for wiring to minimize site-prep time.
Taking stock of which appliances and backup systems need dedicated circuits helps you pick the right breaker sizes. And if you stick to common outlets—like NEMA 6-20 or 14-50—you’ll avoid premium markups on specialty parts.
Cost Saving Strategies
Smart planning and open dialogue with your electrician are critical to keeping costs under control.
Bundle generator, solar, or battery-backup wiring under a single permit.
Map out conduit routes in advance to prevent unexpected trenching.
Opt for standard wire lengths and receptacle types to avoid custom orders.
“I scheduled my install for mid-week during a quiet season and trimmed my costs by 10%,” says one Los Angeles homeowner.
Choosing The Right Electrician
A licensed pro with proven experience in Generac standby systems, solar or battery backups, and home security wiring can save you headaches—and money.
Verify Generac certification and inspect previous job photos.
Read local reviews, especially for Los Angeles and Ventura County projects.
Ask for a line-item quote detailing labor, materials, and permit charges.
Clear communication about inspection timing, material pickups, and panel access can also ward off surprise surcharges.
Next Steps And Contact
Schedule a free site assessment in Los Angeles or Ventura County.
Get a detailed estimate covering labor, parts, and permits.
Plan your installation during off-peak seasons for best rates.
Enjoy seamless Generac generator, solar, or battery integration.
Contact RC Generators and Electric today to book your free estimate on 240 volt outlet installation cost and full backup system integration.